Optimizing the application of grinding fluid in machining processes
11 July 2024
Anodizing in CNC Machining: Enhancing Durability and Aesthetics
18 July 2024The positioning accuracy of CNC machine tools is a critical measure of the precision achieved when the coordinate axes of the machine tools are controlled by the CNC device. This accuracy essentially reflects the machine tool's ability to achieve precise movements. In contrast to manually fed ordinary machine tools, where positioning accuracy is primarily influenced by reading errors, CNC machine tools rely on digital program instructions for their movements, making their positioning accuracy contingent upon the CNC system and mechanical transmission errors. This distinction underscores the importance of understanding and evaluating the factors that contribute to the positioning accuracy of CNC machine tools, as it directly impacts the quality and reliability of the machining processes they perform.
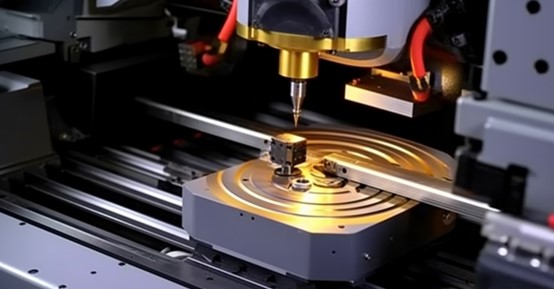
A CNC machine tool, short for digital control machine tool, is an automated machine equipped with a program control system. This system can process programs specified by control codes or other symbolic instructions and convert them into coded numbers. Nanjing Fourth Machine Tool Co., Ltd. inputs these programs into the CNC device through information carriers. After calculation and processing, the CNC device sends various control signals to manage the movement of the machine tool, automatically processing parts according to the required shape and size outlined in the drawing.
The movement of each part of the machine tool is controlled by the CNC device. The accuracy of each part's movement directly affects the precision of the processed parts. Therefore, the accuracy of linear motion positioning is a crucial aspect to consider.
1. Testing Linear Motion Positioning Accuracy
The accuracy of linear motion positioning is typically tested under no-load conditions of the machine tools and workbenches. According to national standards and ISO regulations, the detection of CNC machine tools should be based on laser measurement. If a laser interferometer is not available, general users can use a standard ruler with an optical reading microscope for comparative measurement. However, the accuracy of the measuring instrument must be 1-2 levels higher than the accuracy of the object being measured.
To account for errors in multiple positioning, the ISO standard requires that each positioning point be calculated based on five measurement data. The average value and dispersion band form the positioning point dispersion band, reflecting all errors in multiple positioning.
2. Repeatable positioning accuracy detection of linear motion
To detect the accuracy of positioning, we use the same instrument we use to detect positioning accuracy. The general method of detection involves measuring at three positions near the middle and both ends of each coordinate stroke. Each position is reached through rapid movement, and this cnc machining process is repeated seven times under the same conditions. We measure the stop position value and calculate the maximum difference in readings. To find the repeatable positioning accuracy of the coordinate, we use half of the largest difference among the three positions, including positive and negative signs. This accuracy is a fundamental indicator that shows the stability of axis motion accuracy.
3. Origin return accuracy detection of linear motion
Origin return accuracy refers to the repeatable positioning accuracy of a specific point on the coordinate axis, and its detection method is the same as for the repeatable positioning accuracy.
4. Reverse error detection of linear motion
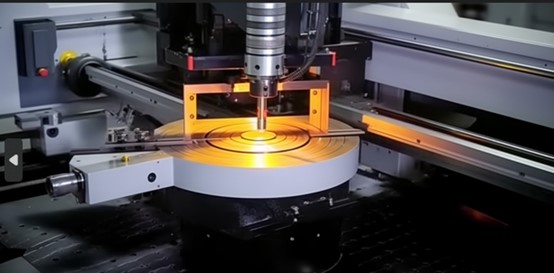
Error, also known as lost momentum, consists of the reverse dead zone of the driving custom cnc machined parts (such as servo motors, servo-hydraulic motors, and stepper motors) on the feed transmission chain of the coordinate axis, the reverse clearance of each mechanical motion transmission pair, and the elastic deformation. The larger the error, the lower the positioning accuracy and repeatability.
To detect the reverse error, start by moving a distance in the forward or reverse direction within the stroke of the measured coordinate axis and use this stop position as the reference point. Then, a specific movement command value in the same direction is given to move a distance, and subsequently, the same distance is moved in the opposite direction to measure the difference between the stop position and the reference position. Perform multiple measurements (usually seven times) at three positions near the midpoint and both ends of the stroke, and calculate the average value at each position. The maximum average value obtained is the reverse error value.
5. Rotary Table Positioning Accuracy Testing
To measure the positioning accuracy of a rotary table, various tools such as a standard rotary table, angle polyhedron, circular grating, and parallel light tube (collimator) can be used based on specific requirements. The measurement process involves rotating the table forward or backward by a certain angle, stopping, locking, and positioning it. This position is then used as a reference, and the table is quickly rotated in the same direction, locked, and positioned every 30 degrees for measurement. The forward and reverse rotations are measured for one full circle, and the maximum difference between the actual rotation angle at each position and the theoretical value (command value) is considered the graduation error.
For CNC rotary tables, each 30-degree interval should be a target position, and each target position should be quickly positioned seven times in both forward and reverse directions. The difference between the actual position and the target position is the position deviation. The average position deviation and standard deviation are then calculated according to the method specified in GB10931-89 "Evaluation Method for Position Accuracy of Digital Control Machine Tools". The positioning accuracy error of the CNC rotary table is determined by calculating the maximum sum of all average position deviations and standard deviations, as well as the difference between the minimum and maximum values.
In practical applications, specific right-angle points such as 0, 90, 180, and 270 are typically measured for dry-type transformers, and the accuracy of these points is required to be one level higher than other angle positions.
6. Repeatable Indexing Accuracy Testing of Rotary Table
The measurement method for repeatable indexing accuracy involves repeating the positioning three times at any three positions within a week of the rotary table and detecting them in both positive and negative directions. The maximum difference between all readings and the theoretical value of the corresponding position is considered the indexing accuracy.
For CNC rotary tables, a measurement point is taken every 30 degrees as the target position, and each target position is quickly located five times from both positive and negative directions. The difference between the actual position and the target position, known as the position deviation, is measured, and the standard deviation is then calculated according to the method specified in GB10931-89. The repeatable indexing accuracy of the CNC rotary table is determined by calculating six times the maximum value of the standard deviation of each measurement point.
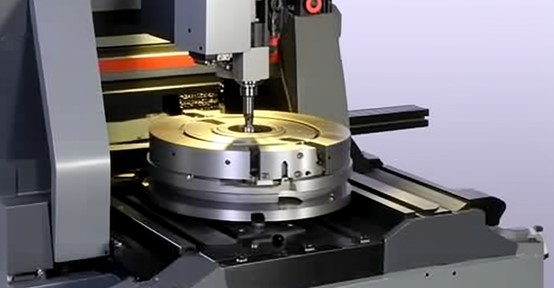
7. Origin Return Accuracy Testing of Rotary Table
The measurement method for origin return accuracy involves performing an origin return from 7 arbitrary positions, measuring the stop position, and using the maximum difference as the origin return accuracy.
It's important to note that existing positioning accuracy detection is typically measured under fast and positioning conditions. For some CNC machine tools with a poor feed system style, different positioning accuracy values may be obtained when positioning at different feed speeds. Additionally, the positioning accuracy measurement result is influenced by the ambient temperature and the working state of the coordinate axis. Most CNC machine tools currently use a semi-closed loop system, with position detection elements mostly installed on the drive motor. It's not uncommon for an error of 0.01 to 0.02mm to occur within a 1m stroke due to thermal elongation. Some machine tools use the method of pre-stretching (pre-tightening) to mitigate this impact.
If you want to know more or inquiry, please feel free to contact [email protected]
Hot sale Factory China 5 axis cnc machining parts, CNC turned parts and custom cnc milling copper parts. Welcome to visit our company, factory, and our showroom which displays various hair merchandise that will meet your expectation. Meanwhile, it is convenient to visit Anebon's website, and Anebon sales staff will try their best to deliver you the best service. Please contact Anebon if you have to have more information. The Aim of Anebon is to help customers realize their goals. Anebon has been making great efforts to achieve this win-win situation.

